
7 Storm Window Repair Tips for Global Buyers
Storm window repair is a practical way to improve comfort, protect older frames, and reduce drafts without automatically replacing existing windows. For global buyers, the right repair depends on climate, window material, exposure, and how the storm panel fits. A loose corner, cracked glazing compound, or blocked weep hole can undermine an otherwise sound installation. Small details matter.
The U.S. Department of Energy’s Energy Saver guidance estimates that heat gain and loss through windows account for about 25%–30% of residential heating and cooling energy use. That figure covers windows broadly, not storm-window repairs alone. It is useful context, not a promise of savings. Building scientist Joseph Lstiburek’s often-cited advice, “Build tight, ventilate right,” also applies here: reducing unwanted air leaks should not mean ignoring safe, appropriate ventilation.
These seven storm window repair tips will help buyers assess damage, choose compatible materials, and ask suppliers sharper questions before ordering parts. Look closely at frame joints, fasteners, seals, drainage paths, and the meeting rail. Then compare repair needs with local weather and the original window design. A repair that works in a mild, dry climate may fail under wind-driven rain or repeated freeze-thaw cycles. Measurements can be imperfect, too; verify them before purchase. The aim is sound, maintainable performance—not a quick cosmetic fix.
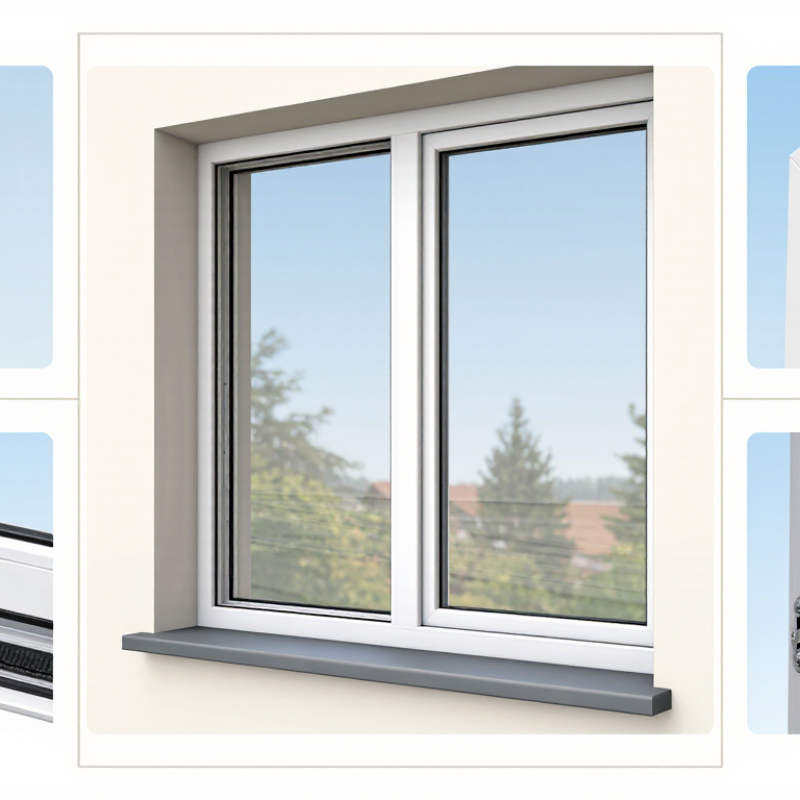
Identify the Storm Window Type and Assess the Damage
Identify whether the unit is an exterior or interior storm window, then note its style: fixed, two-track, or triple-track. A sliding panel should move without grinding or slipping from its track. Check the frame material, too; aluminum can corrode, while wood may soften near damp corners. Look closely.
Assess damage in daylight. A hairline crack, loose latch, missing fastener, or flattened gasket can admit drafts and water. Feel around the edges on a windy day, and inspect the sill for staining or swollen paint. Condensation on the room-facing surface may come from indoor humidity; moisture trapped between panes can signal a failed seal. They are not the same problem.
The U.S. Department of Energy’s Energy Saver guidance reports that storm windows can reduce air leakage by 10% or more. That benefit depends on a close fit, so record gaps and damaged seals before choosing a repair. Note whether the pane is glass or plastic, and photograph each corner and track. A small defect can hide behind a frame lip. I have found that buyers sometimes mistake dirt in a track for corrosion; clean one short section gently before judging the metal. If a frame is bent or the glass is cracked, measure carefully and seek a qualified window professional’s assessment before ordering parts.
7 Storm Window Repair Tips for Global Buyers - Identify the Storm Window Type and Assess the Damage
| Tip | What to Check | Common Findings | Practical Next Step |
|---|---|---|---|
| 1. Identify the installation type | Check whether the storm window is mounted on the exterior or interior side of the primary window. | Exterior units are exposed to rain and weather; interior units are installed room-side and may be removable or sealed in place. | Record the location and how the unit is attached before requesting repair parts or service. |
| 2. Check whether the unit is fixed or operable | Look for hinges, clips, lift tabs, or sliding panels. Do not force a panel that appears painted or fastened shut. | Some storm windows are fixed; others have removable sashes or panels for ventilation and cleaning. | Identify the moving or removable section and inspect its hardware for looseness, corrosion, or damage. |
| 3. Inspect the track configuration | Observe how many channels or tracks hold the panels and whether each panel moves independently. | Two-track and three-track designs are common; configurations vary, so appearance alone may not confirm compatibility. | Photograph the tracks and note panel positions when seeking a replacement sash, glazing, or hardware. |
| 4. Examine the glazing carefully | Look for cracks, chipped edges, loose glazing, persistent condensation between sealed panes, or a rattling panel. | Cracked glass is a safety concern; moisture trapped between panes can indicate a failed sealed-glass unit. | Keep people away from cracked glazing and arrange suitable professional assessment before removing damaged glass. |
| 5. Check the frame and fasteners | Inspect corners, joints, mounting points, and screws for movement, corrosion, distortion, or gaps. | Loose fasteners, bent tracks, and deteriorated frame joints can prevent panels from seating properly. | Determine whether the problem is limited to replaceable hardware or affects the frame or mounting surface. |
| 6. Assess seals and drainage | Look for missing or compressed weatherstripping, blocked weep openings, and signs of water collecting in the sill. | Worn seals can allow drafts; blocked drainage paths may retain water and contribute to corrosion or moisture damage. | Clear accessible drainage openings and replace compatible worn seals without covering designed weep holes. |
| 7. Document measurements and damage | Measure the opening and affected panel, noting whether dimensions are taken in millimetres or inches. Photograph labels and damage, but omit personal information. | Replacement parts may depend on frame style, glazing thickness, track layout, and precise dimensions. | Share measurements, clear photos, installation type, and the required units with a qualified supplier or repair professional. |
Related Posts
-
Top 10 Storm Windows With Screens for Global Buyers
-
What Are Storm Windows With Screens and How Do They Work?
-
Why Is Storm Window Repair Important?
-
2025 Top 10 Exterior Storm Windows: Best Choices for Energy Efficiency
-
5 Essential Tips for Choosing the Best Exterior Storm Windows for Energy Efficiency
-

Best Storm Windows with Screens for Ultimate Home Protection in 2025
Share On: